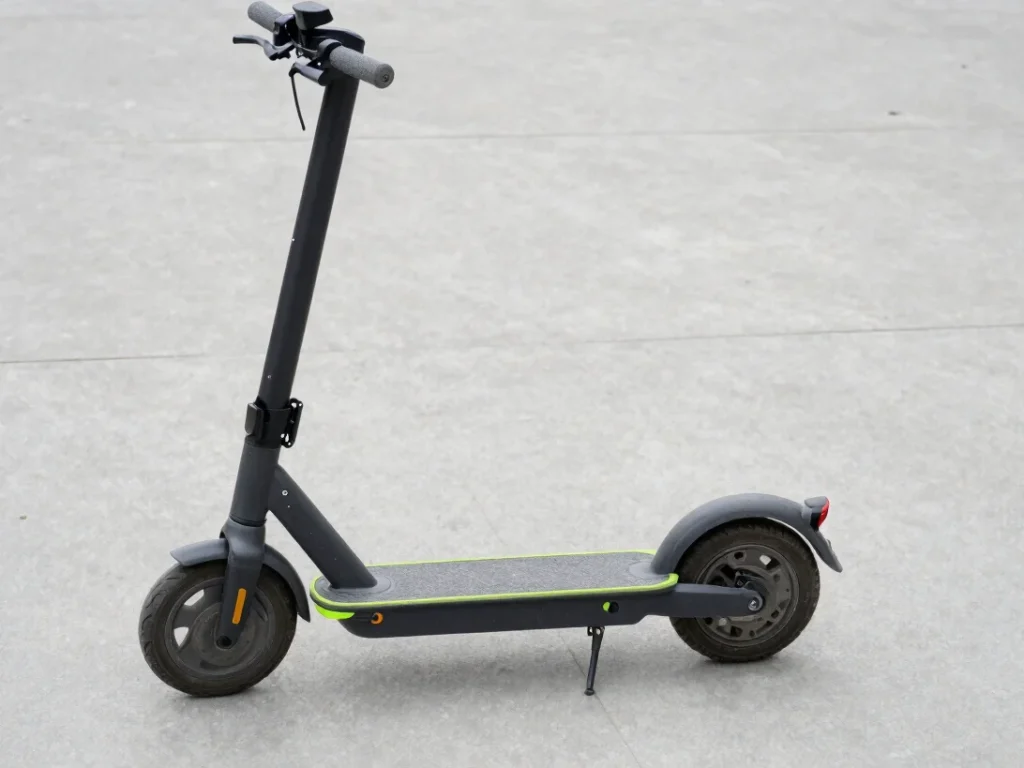
Inflate tires to the pressure printed on the sidewall or in the manual. Under-inflation increases the risk of pinch flats and reduces handling control.
02
Inspect disc brake pads
Look through the caliper for pad thickness and rotor wear. Replace pads when the friction material is near the wear indicator or uneven.
03
Tighten folding clamps
Confirm the stem lock engages fully and the clamp bolts are snug. A loose fold can shift under load and cause a sudden collapse.
04
Torque key bolts
Check handlebar, deck, and wheel bolts against the torque values in the manufacturer manual. Recheck after the first week of riding.
Diagnostic guidance
Common Faults and First Checks
Start with the simplest check before assuming a controller or battery failure. Always consult the manual for model-specific codes.
Power loss
Sudden power cutout
Check the battery charge level, confirm the main connector is seated, and inspect the fuse if your model has one. Repeated cutouts under load warrant a professional inspection.
Error codes
Flashing error code
Note the code pattern and look it up in the manual. Power-cycle the scooter once, then check that cables are not pinched near the steering column.
Charging
Battery not charging
Test the outlet and charger indicator, then inspect the charge port for debris. Avoid charging a visibly damaged battery or one that feels hot.